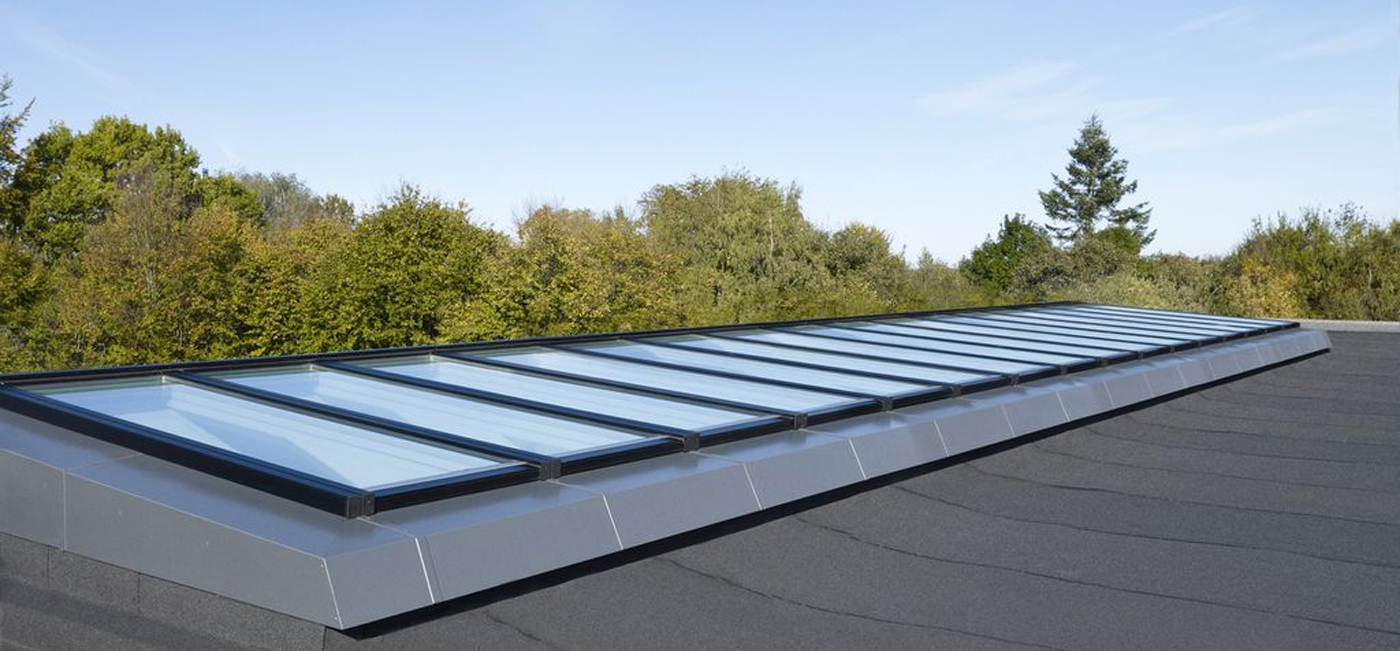
Installing roof ventilation skylights is a meticulous process that requires careful planning and execution. Every step, from design to installation, directly impacts the skylight’s performance and lifespan. Here are the key factors to consider before installation:

1. Design an Efficient Drainage System
A well-designed drainage system of ventilation skylight is critical to prevent water leakage during heavy rainfall. For industrial buildings, ensure the gutters and downpipes are configured to handle intense rain, especially in regions prone to storms or typhoons. In coastal areas, consider installing siphon drainage systems for faster and more efficient water removal.
2. Plan for Electric Smoke Exhaust Skylights
Electric skylights with operable valve panels are ideal for industries like metallurgy, manufacturing, logistics, and aerospace. When installing, focus on:
Circuit Design: Properly layout sensors and control systems for smooth operation.
Future-Proofing: Ensure the design accommodates future operational needs to avoid costly modifications.
3. Prepare the Roof Surface
Before installation the electric skylight window, coordinate with construction teams to ensure the roof membrane is correctly positioned. The membrane should extend 25–30 cm above the skylight base to prevent leaks and meet ventilation requirements.
4. Check Roof Insulation
For insulated roof panels (common in steel structures), ensure proper integration between the skylight and the roof. Use insulation materials like thermal wool to maintain energy efficiency and waterproofing. This step ensures both functionality and aesthetic appeal.
Why Proper Installation Matters
A well-installed roof ventilation skylight from MapleMiles Home Bulding Company enhances natural lighting, improves air quality, and prevents water damage. By addressing these factors, you can maximize the skylight’s value and longevity. Contact us today for expert guidance on installing high-performance roof ventilation skylights tailored to your needs!

